


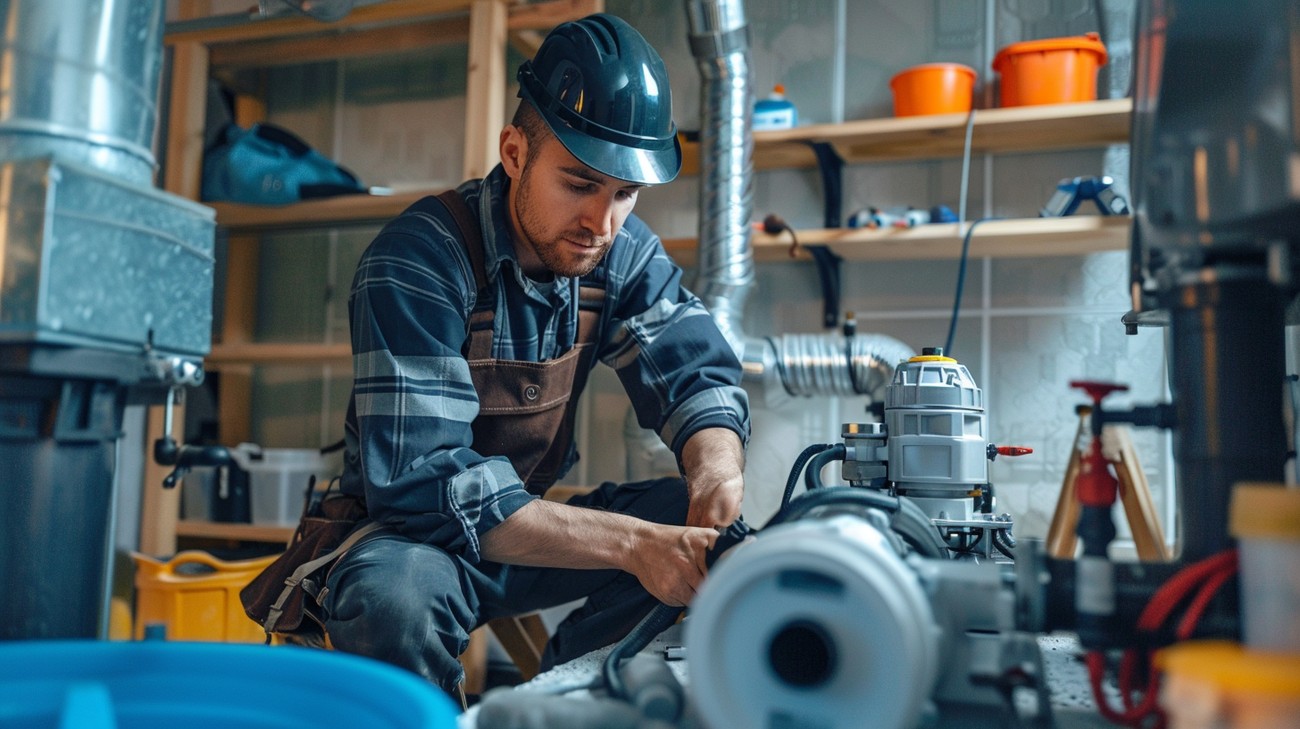
Water pump installation is a critical process that ensures the efficient functioning of various systems in residential, commercial, and industrial settings. Whether you’re setting up a water pump for a well, a pond, or a home’s plumbing system, understanding the intricacies of the installation process can save you time, money, and prevent potential mishaps. In this comprehensive guide, we’ll explore everything you need to know about water pump installation, from choosing the right pump to the step-by-step installation process.
Understanding Water Pumps
To begin with, let’s clarify what a water pump is. A water pump is a mechanical device designed to move water from one place to another. These devices can vary in size and complexity, ranging from small submersible pumps for aquariums to large industrial pumps for irrigation systems.
Types of Water Pumps
Before diving into the installation process, it’s essential to identify the type of water pump suitable for your needs. Here are the common types of water pumps:
-
Centrifugal Pumps: Ideal for transferring water in large volumes. These pumps use a rotating impeller to create a vacuum, thus moving the water.
-
Submersible Pumps: Designed to operate submerged in water. They are commonly used for well water extraction.
-
Jet Pumps: Suitable for well water extraction. These pumps are placed above ground and are often used when the water level is above 25 feet.
-
Diaphragm Pumps: These are versatile and can handle various liquids. They use a diaphragm to create suction.
-
Booster Pumps: These pumps increase the pressure within a water system, ensuring a steady and powerful water flow.
Choosing the Right Water Pump
Selecting the appropriate water pump entails understanding your specific requirements, including the desired water output, source of water, and the total head—or vertical distance—the water must be raised or lowered.
Preparing for Installation
Proper preparation is key to a successful water pump installation. Here’s how to lay the groundwork before you start:
Gather Necessary Tools and Materials
Before getting started, ensure you have the right tools and materials. Here’s a handy checklist:
- Pipe wrench
- Screwdrivers
- Teflon tape
- PVC pipes and fittings
- Pipe cutter
- Electrical tape
- Primer and cement for PVC pipes
Safety First
When handling electrical components and heavy equipment, safety should always be a priority. Follow these safety tips:
- Wear appropriate safety gear, such as gloves and goggles.
- Ensure the power supply to the pump area is turned off before commencing work.
- Familiarize yourself with the user manual of your pump model.
Step-by-Step Water Pump Installation
1. Site Assessment
Begin by assessing the installation site. Ensure that it’s structurally sound and has adequate space to accommodate the pump. For submersible pumps, the site should be free from debris that could interfere with the pump’s operation.
2. Assemble the Pump Unit
Follow the manufacturer’s instructions to assemble the pump unit. This might include attaching the pump to a base or flange and connecting various components using PVC pipes and fittings.
3. Connect the Pipes
Carefully position the pipes in accordance with your setup plan. Use a pipe cutter to achieve the correct lengths. Ensure all connections are tight and secure to prevent any leaks:
- Wrap Teflon tape around threaded pipe fittings to ensure a watertight connection.
- Use primer and cement for PVC pipes, adhering to the recommended drying times.
4. Electrical Connections
For pumps requiring electrical power, connect the pump motor to your power source. Follow the electrical schematic provided in the pump manual:
- Strip and connect wires using electrical tape and proper connectors.
- Always ground the pump correctly to prevent electrical hazards.
5. Testing the System
Once everything is set, it’s time to test the system:
- Prime the Pump: This step involves filling the pump with water to remove air and create the necessary suction.
- Turn the Power On: Switch on the pump and observe its operations.
- Check for Leaks: Inspect the entire system for any leaks or irregular noises.
- Adjust Settings: Make any necessary adjustments to pressure settings or flow rates for optimal performance.
Troubleshooting Common Issues
Sometimes, everything might not go as planned. Here are common issues and their solutions:
- Noise or Vibration: This usually means there are loose parts or air in the system. Check all connections and ensure the pump is adequately primed.
- Low Water Flow: Could be due to blocked pipes or a misaligned pump. Cleaning blockages and ensuring proper alignment can rectify this issue.
- No Power: Double-check electrical connections and ensure all wiring is correct and secure.
Maintenance Tips
To prolong the life of your water pump and ensure it operates efficiently, regular maintenance is essential:
- Routine Inspections: Regularly check for visible wear and tear.
- Clean Filters: Ensure inlet filters are clean to prevent clogging.
- Monitor Performance: Keep an eye on the pump’s performance metrics and address any anomalies promptly.
Frequently Asked Questions About Water Pump Installation
How do I know if I need a new water pump installation?
If you experience low water pressure, strange noises from your existing pump, or frequent need for repairs, it may be time for a new water pump installation. An efficient water pump should operate quietly and provide consistent water pressure. If these issues persist after maintenance and repairs, installing a new water pump could be the best solution to restore your water system’s performance and reliability.
What are the steps involved in a water pump installation?
The installation process for a water pump involves several key steps. Initially, the site is assessed for the most efficient pump type. The old pump (if present) is then removed. After ensuring the site is prepared, the new water pump is mounted and aligned correctly. Pipe fittings are connected next, followed by electrical connections. Once everything is in place, the system is tested for leaks and performance. Adjustments are made if necessary to ensure optimal operation.
How long does a water pump installation take?
The duration of a water pump installation depends on various factors like the type of pump and the complexity of the water system. Generally, a simple installation can take a few hours, whereas more complicated setups, especially those involving deep-well pumps or intricate plumbing, might take a whole day or longer. Scheduling a professional assessment can give you a more accurate timeframe based on your specific situation.
Can I install a water pump myself, or should I hire a professional?
While it’s possible for handy individuals to install a water pump themselves, hiring a professional is recommended for most installations. This ensures that the pump is installed correctly and safely, preventing potential issues such as leaks or electrical hazards. Professionals have the experience and tools necessary to perform a successful installation and can advise on the best pump type and size for your needs.
What types of water pumps are available for installation?
Several types of water pumps can be installed, each suited for different purposes. Submersible pumps are installed underwater and are ideal for deep wells. Jet pumps, which sit above ground, can handle lower water levels. Centrifugal pumps work well for larger volumes of water and are common in agriculture and industrial settings. Consider your water source and pressure needs when selecting a pump type for installation.
How much does water pump installation cost?
The cost of water pump installation varies widely depending on the type of pump, the complexity of the installation process, and regional housing market rates. A small, simple pump installation might cost a few hundred dollars, while a more complex project requiring extensive plumbing work and specialized equipment can run into the thousands. Always get multiple quotes to understand the range of costs and services included.
What maintenance is required after a water pump installation?
After installing a water pump, regular maintenance ensures it continues functioning efficiently and extends its lifespan. Maintenance tasks include checking for leaks, testing water pressure, inspecting electrical connections, and cleaning filters or replacing them as needed. Scheduled professional inspections can catch potential issues early, keeping your system running smoothly and avoiding costly future repairs.
Do I need a permit for water pump installation?
Permit requirements for water pump installation vary by location and the installation’s complexity. Small, above-ground installations may not require permits, while larger, more involved projects often do. It’s crucial to check with local government or building authorities to determine the specific requirements in your area to ensure compliance with all regulations and avoid potential fines.
How can I choose the right water pump for my installation?
To choose the right water pump for installation, consider factors such as the water source’s depth, the required water pressure, and the volume of water needed. Consulting with a professional can help to determine the most suitable pump type and size based on your unique needs. They can also provide insights on energy efficiency and advanced features that could benefit your water system.
Is there a warranty for water pump installations?
Most water pump installations come with a warranty that covers the pump and sometimes the installation work itself. Warranty terms vary by manufacturer and installer, but they often cover defects and faulty installations for a certain period. It’s essential to discuss warranty details with your installer and retain all documentation in case issues arise requiring warranty support.
What are the common problems that can occur after a water pump installation?
After installation, common problems might include fluctuating water pressure, air in the system causing noisy operation, or electrical issues leading to intermittent pump function. These problems can often be traced back to improper installation or an incompatible pump choice. Promptly addressing these issues with professional assistance prevents more significant damage and maintains system efficiency.

Step-by-Step Guide
Tools/Materials Needed
Before you dive into the installation, gather the necessary tools and materials to avoid any scrambling mid-job:
- Pipe wrench
- Adjustable wrench
- Screwdriver set
- Pipe cutter
- Teflon tape
- Plumbing pipe sealant
- Level
- Measuring tape
- Safety gloves
- Buckets (for draining water)
- Mixing sticks and container (for sealant)
- Electrical tape
- Voltage tester
- PVC pipes and fittings (if applicable)
- Hose clamps
- Flexible hoses (for easier connections)
Preparation Steps
-
Read the Manual: Start by thoroughly reading the water pump’s manual. Every pump can have different specifications, so understanding your specific model is crucial.
-
Gather Tools: Collect all needed tools and materials. Lay them out near your workspace to keep them handy.
-
Turn Off Power and Water: Ensure the power and water supply to the area where you’ll be working are both turned off to prevent accidents.
-
Drain Existing Water: Use buckets to drain any existing water from pipes connected to your current system.
-
Plan Your Layout: Measure the space for the pump installation and plan the plumbing route. This prevents any wrong cuts or hasty connections.
Detailed Instructions
-
Position the Pump: Place the pump on a level surface. Use a level to ensure it’s not leaning. It helps to prevent operational issues later.
-
Secure the Pump: Bolt the pump to a concrete pad or solid surface using bolts and nuts to minimize vibration.
-
Connect the Inlet Pipe:
- Cut the inlet pipe to the required length using a pipe cutter.
- Attach it to the pump’s inlet using flexible hoses or direct connection. Use hose clamps to secure flexible hoses.
- Seal threads with Teflon tape or plumbing sealant to prevent leaks.
-
Connect the Outlet Pipe:
- Similarly, attach the outlet pipe to the pump’s outlet.
- Ensure there are no kinks in the pipe that will impede water flow.
- Use Teflon tape or sealant on threaded connections.
-
Connect Electrical Wiring:
- Carefully strip and connect wires according to the pump’s wiring diagram.
- Use a voltage tester to ensure the correct connection.
- Protect connections with electrical tape.
-
Safety Check: Double-check all connections for tightness and integrity. Ensure everything is secure to avoid leaks or electrical hazards.
-
Prime the Pump:
- Fill the pump case with water to prime it, following the manufacturer’s directions.
- This step prevents air locks and ensures proper functioning.
-
Test the Installation:
- Turn on the water supply slowly and check for leaks.
- If everything looks good, turn on the power.
- Observe the pump’s operation, listening for unusual noises or vibrations.
Tips for Success
- Take Your Time: Rushing might lead to errors. Allow yourself enough time to complete each step meticulously.
- Use Quality Sealant: Ensure that you use high-quality plumbing sealant. It pays off in longevity and reliability.
- Avoid Sharp Bends: Ensure that pipes are installed with gentle curves to avoid stress fractures.
What to Do If Something Goes Wrong
- Leaks: Turn off the water supply immediately. Inspect connections and reapply Teflon tape or sealant as needed, then retest.
- Electrical Issues: Disconnect power at once. Re-check your wiring against the manual. Use a voltage tester to identify faulty connections and redo them if necessary.
- Noise/Vibration: Stop the pump and check if it’s level and securely fastened. Adjust mounting bolts if needed.
- Pump Doesn’t Start: Verify electrical connection integrity. Ensure the power supply is working. Consult the troubleshooting section in your pump’s manual.
Common Mistakes to Avoid
1. Skipping the User Manual
Why It Happens: Excitement and confidence. Many folks assume they know the basics and jump in without giving the user manual a thorough read.
How to Avoid It: Set aside a few moments to read and understand the user manual provided by the manufacturer before starting. This step is crucial as it contains specific instructions and warranty information.
What to Do If You’ve Already Made the Mistake: If you’re partway into the installation and things aren’t looking right, pause. Go back and read the manual. It might provide the insight you need to correct your path without hassle.
Expert Recommendations: Always keep the manual handy throughout the installation. It’s a practical guide and a helpful reference whenever you encounter unexpected issues.
2. Improper Sizing
Why It Happens: A common misunderstanding is assuming all water pumps are one-size-fits-all. This mistake often arises from not assessing the water demand beforehand.
How to Avoid It: Calculate the required flow rate and pressure for your specific needs. Consult the manufacturer’s specifications and, if needed, seek professional advice to ensure the pump is suitable.
What to Do If You’ve Already Made the Mistake: If the pump is too small or excessively large, consult with a professional to determine if adjustments can be made or if the pump needs to be replaced.
Expert Recommendations: Consider the elevation, friction loss, and the total dynamic head required. These factors are vital in selecting the proper pump size.
3. Incorrect Pump Placement
Why It Happens: Eager to get things going, the importance of proper placement is often overlooked, leading to inefficient operation.
How to Avoid It: Ensure your pump is installed on a stable, level surface, ideally as close to the water source as possible. This reduces strain on the pump and maximizes efficiency.
What to Do If You’ve Already Made the Mistake: If you’ve realized improper placement post-installation, consider relocating the pump to a more optimal position and ensure it’s secure and level.
Expert Recommendations: Use vibration dampening materials or mounting brackets to secure the pump, enhancing its lifespan and performance.
4. Neglecting the Electrical Setup
Why It Happens: Underestimating the complexity of the electrical connections can lead to subpar installations or even dangerous outcomes.
How to Avoid It: If not already experienced in electrical work, either consult the manual for guidance or hire a certified electrician to handle the wiring for you.
What to Do If You’ve Already Made the Mistake: Should your pump not operate as expected due to electrical issues, disconnect the power immediately to avoid hazards and consult a professional.
Expert Recommendations: Grounding your pump and using the recommended wire gauge are essential to prevent electrical failures. It’s a small step that offers significant protection.
5. Ignoring the System’s Overall Design
Why It Happens: It’s easy to focus solely on the pump and overlook how it integrates into the overall system, leading to compatibility issues.
How to Avoid It: Examine the entire water system layout, including pipes, fittings, and valves, to ensure compatibility and efficiency.
What to Do If You’ve Already Made the Mistake: Retrofitting your system or seeking expert advice may be necessary to resolve integration issues.
Expert Recommendations: Plan comprehensively before buying or installing. A clear overview will prevent complications down the line.
6. Forgetting to Prime the Pump
Why It Happens: Missing this step is common, especially for first-timers unfamiliar with centrifugal pumps that require priming to start the suction process.
How to Avoid It: Follow the instructions for priming detailed in the manual. Typically, this involves filling the pump and suction piping with water before starting.
What to Do If You’ve Already Made the Mistake: If your pump is running dry, stop it immediately to avoid damage. Prime it correctly and restart the system.
Expert Recommendations: Regularly check the priming system’s integrity to prevent air leaks that can lead to operational failure.
7. Overlooking Maintenance Needs
Why It Happens: Once the pump is running smoothly, regular maintenance often slips the mind until something goes wrong.
How to Avoid It: Set reminders for routine maintenance checks, including inspections of the belts, bearings, and overall operation.
What to Do If You’ve Already Made the Mistake: Establish a maintenance routine promptly to mitigate any emerging issues before they lead to pump failure.
Final Thoughts
Proper water pump installation is crucial for ensuring your system operates efficiently and effectively. Whether you’re tackling a DIY project or seeking professional help, understanding the process helps you make informed decisions and avoid common pitfalls.
If you’re in Lexington, KY, and looking for expert assistance, we’re here to help! At KYPD Plumbing, we pride ourselves on our reliable service and commitment to our customers. Don’t hesitate to reach out and schedule a consultation or request a free estimate. We’re excited to ensure your water pump is set up for long-lasting performance!