


When it comes to kitchen maintenance, one area that homeowners often overlook is the sink drain. The humble kitchen sink drain plays a crucial role in ensuring that your kitchen remains in tip-top shape. From preventing clogs to maintaining hygiene, a well-functioning kitchen sink drain is indispensable. This comprehensive guide delves deep into the intricacies of kitchen sink drain plumbing, offering invaluable insights to both novices and experienced DIY enthusiasts.
Understanding Kitchen Sink Drain Components
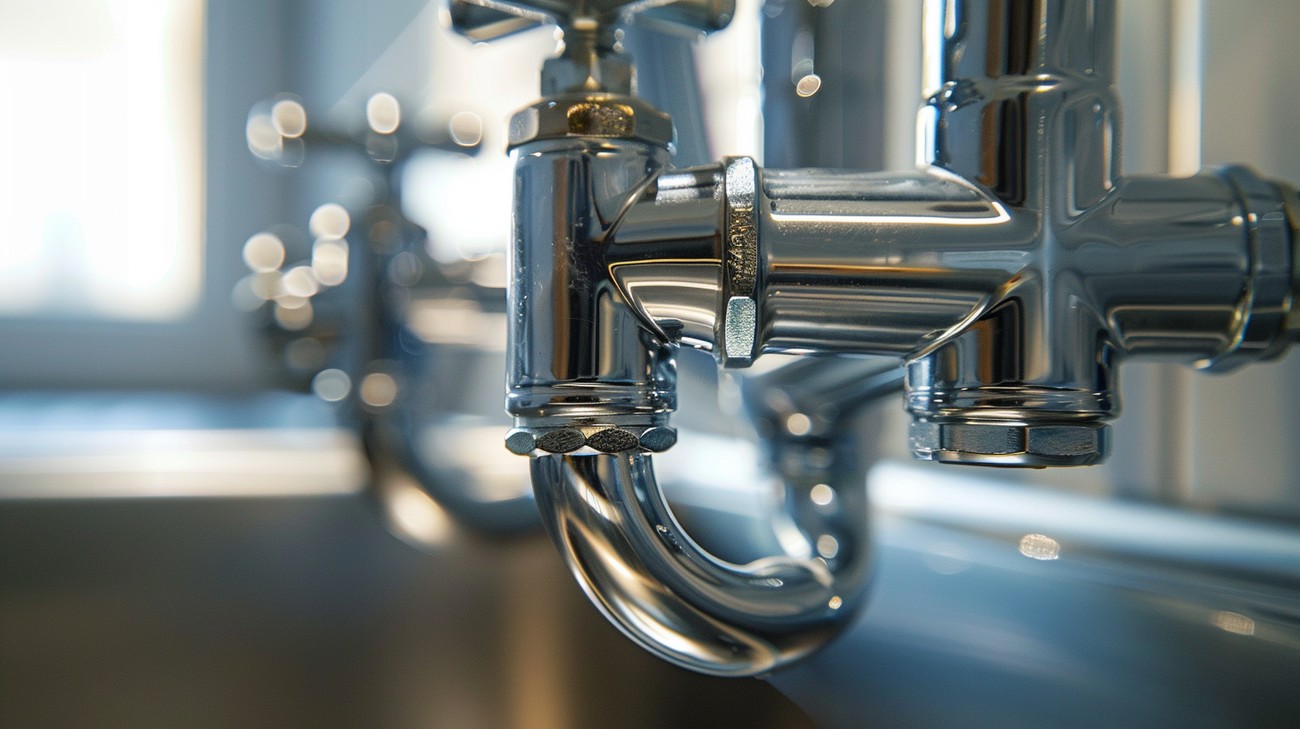
Before diving into maintenance and repair tips, it’s essential to understand the various components that make up a kitchen sink drain system:
-
Strainer Basket: This is the first line of defense against food particles. Strainers catch debris and prevent them from entering the pipes.
-
Tailpiece: Tending downward from the strainer, the tailpiece connects it to the other parts of the drain system.
-
P-Trap: An essential component, the P-Trap holds water to prevent sewer gases from entering your home.
-
Drain Pipes: These carry waste water away from the sink.
-
Cleanout Plug: Located just below the P-Trap, it provides access for cleaning and removing blockages.
Common Kitchen Sink Drain Problems
Every kitchen may face drain issues at some point. Here are some of the most common problems and their implications:
Clogging
Food debris, grease build-up, and foreign objects are the primary culprits here. A clogged drain can lead to water back-up, creating a mess.
Leaking Pipes
Loose connections or cracks in pipes can result in leaks that might lead to water damage over time.
Slow Drainage
Often caused by partial clogs, slow drainage can be a precursor to complete blockages.
Bad Odors
Trapped food particles and biofilm build-up can cause unpleasant smells emanating from the drain.
DIY Tips for a Healthy Kitchen Sink Drain
Maintaining your kitchen sink drain doesn’t have to be daunting. With some regular upkeep and a bit of DIY spirit, you can keep problems at bay:
Preventing Clogs
-
Use a Strainer: Always employ a strainer basket to catch larger debris.
-
Avoid Grease: Refrain from pouring grease down the drain. Instead, dispose of it in the trash.
-
Regular Flushing: Periodically run hot water through the drain to clear minor particles and prevent build-up.
Dealing with Slow Drains
-
Baking Soda and Vinegar: A classic combination. Pour half a cup of baking soda followed by a cup of vinegar. Wait for a reaction, then flush with hot water.
-
Plunger: Often overlooked, the humble plunger can work wonders. A few vigorous pumps can dislodge minor clogs.
Fixing Leaks
-
Check Connections: Tighten any loose fittings with a wrench.
-
Replace Seals: Over time, washers and seals may wear out. Replacing them can often stop leaks.
Selecting the Right Plumbing Tools
Tackling any DIY task is easier when you have the right tools. Here’s a list of essentials for kitchen sink plumbing:
-
Adjustable Wrench: For tightening and loosening connections.
-
Plumber’s Tape: Ensures tight seals on threaded pipe joints.
-
Plumber’s Putty: Useful for sealing baskets and drains.
-
Plunger: Essential for clearing blockages.
-
Pipe Snake: For reaching deep clogs that a plunger can’t.
When to Call a Professional
While DIY solutions can handle minor issues, some situations require expert intervention:
-
Persistent Odors: If baking soda and vinegar don’t cut it, there might be a deeper issue needing professional attention.
-
Severe Leaks: Continuous water leaks not only increase water bills but can also cause structural damage.
-
Frequent Clogs: Persistent clogs, despite regular maintenance, may indicate more severe plumbing issues.
Choosing a Reputable Plumber
Selecting the right plumber is crucial for effective kitchen sink drain repairs. Here are some tips to help you make an informed choice:
-
Check Reviews and Ratings: Look for online reviews and ask for recommendations from friends and family.
-
Verify Licenses: Ensure any plumber you hire is licensed and insured.
-
Request Quotes: Obtain multiple quotes to compare prices and services offered.

Frequently Asked Questions About Kitchen Sink Drain Plumbing
How do I unclog a kitchen sink drain?
Unclogging a kitchen sink drain is often a straightforward process that you can tackle without calling a plumber. Start by using a plunger; ensure there’s enough water in the sink to cover the plunger cup. Position it over the drain opening and give it several forceful pumps. If this doesn’t clear the clog, try a drain snake or auger, which you can buy or rent at a hardware store. Turn the snake, pushing it deeper into the pipe, until you feel it break through the blockage. Finally, flushing the drain with hot water can help remove any remaining debris. Avoid using chemical drain cleaners as they can cause damage to your plumbing over time.
What causes slow draining in a kitchen sink?
Slow draining in your kitchen sink can be frustrating, and it’s usually due to a partial blockage in the plumbing. Common culprits include grease, soap scum, and food particles that have built up over time. These substances can cling to the sides of pipes, gradually restricting water flow. A slow drain can also result from improperly vented plumbing, which affects the pressure and movement of water through the pipes. Regular cleaning and maintenance of the sink drain can help prevent slow draining by removing these build-ups before they become problematic.
Can I use a plunger on a double kitchen sink?
Yes, you can use a plunger on a double kitchen sink with a few additional steps. First, if both sides of your double sink are affected, you’ll need to create a seal in order to generate the necessary pressure to dislodge the clog. You can do this by plugging the non-plunged side with a wet cloth or stopper. Once sealed, use the plunger on the affected side as you normally would, ensuring there’s enough water to cover the plunger cup. The seal helps direct the plunging force to the clogged drain, improving your chances of clearing the blockage.
How often should I clean my kitchen sink drain?
Regular cleaning of your kitchen sink drain helps to prevent blockages and odors. Ideally, you should perform a simple cleaning routine weekly. Start by flushing the drain with hot water, which helps melt away any grease and soap residue. Once a month, pour a mixture of equal parts baking soda and vinegar down the drain. The fizzing reaction helps clean pipes and remove stubborn build-ups. Follow up with another hot water rinse to ensure everything is clear. By sticking to this routine, you can minimize the frequency of major clogs in your kitchen sink plumbing.
What materials are kitchen sink drains made of?
Kitchen sink drain plumbing typically consists of materials like PVC (polyvinyl chloride), which is lightweight, easy to install, and resistant to corrosion. PVC pipes are prevalent due to their durability and cost-effectiveness. In older homes, you might find metal pipes made from materials such as copper or galvanized steel. While metal pipes are durable, they are more prone to rust and corrosion over time. Frequent exposure to moisture can shorten their lifespan compared to PVC. Understanding the materials in your kitchen sink plumbing can help you make informed choices when repairs or replacements are necessary.
Can food waste cause permanent damage to my kitchen sink plumbing?
Food waste can certainly wreak havoc on kitchen sink plumbing if not properly managed. While not all food materials will cause immediate damage, items like coffee grounds, eggshells, grease, pasta, and fibrous vegetables can lead to clogs because they don’t easily break down and can accumulate in your pipes. Over time, these materials can contribute to corrosion or cause significant blockages in your plumbing. It’s best to dispose of food waste responsibly, using a garbage disposal for appropriate items or composting as an alternative.
What should I avoid draining in my kitchen sink?
To keep your kitchen sink plumbing in optimal condition, avoid draining items that can contribute to clogs or damage your pipes. Grease and oil top the list because they can solidify and create stubborn blockages. Similarly, rice and pasta can expand in water, causing clogs. Additionally, avoid putting large amounts of food, coffee grounds, or fibrous vegetable peels like potato skins and celery down the drain. Using a sink strainer can help catch debris before it enters your plumbing, reducing the risk of plumbing issues.
Is it necessary to use a garbage disposal with a kitchen sink?
A garbage disposal is not strictly necessary for kitchen sink drain plumbing, but it can be a helpful appliance for handling small amounts of food waste. It helps break down food scraps into smaller pieces, lessening the chance of a clog. However, not everyone prefers to use a disposal due to maintenance considerations and noise. If you decide to opt-out of a garbage disposal, you’ll need to manually remove food debris using a sink strainer and dispose of it in your trash or compost bin. Ultimately, whether or not to use a garbage disposal is a matter of personal preference and household needs.
Troubleshooting Guide
1. Slow Draining Sink
Symptoms: Water takes longer than usual to drain from the sink, forming a puddle. It may emit gurgling noises as it drains.
Likely Causes: Food particles or grease buildup is the usual culprit here, causing partial blockage in the pipes.
Step-by-Step Fixes:
- Boiling Water: Pour a kettle of boiling water down the drain to melt and dislodge grease and debris.
- Plunger: Use a plunger to create suction. Place it firmly over the drain and pump vigorously.
- Baking Soda and Vinegar: Mix half a cup of baking soda with half a cup of vinegar. Pour this mixture down the drain and wait for it to fizz. After 15 minutes, rinse with hot water.
When to Call a Professional: If these steps don’t work and water pooling persists, it’s time to consult a plumber to avoid worsening the blockage.
Prevention Tips: Avoid pouring grease down the sink. Regularly flush with boiling water or use a natural drain cleaner to keep pipes clear.
2. Foul Odor Emanating from Sink
Symptoms: Bad odors come up from the sink drain, even when the kitchen is clean.
Likely Causes: Old food, grease, or bacteria trapped in the drain pipes can cause unpleasant smells.
Step-by-Step Fixes:
- Boiling Water and Soap: Pour a mixture of boiling water and dish soap down the drain to help dissolve trapped debris.
- Baking Soda and Vinegar: Use the baking soda and vinegar method as described above to neutralize odors.
- Clean P-trap: Place a bucket underneath the P-trap (the U-shaped pipe under the sink), unscrew it, and clear out any debris.
When to Call a Professional: If the smell remains after cleaning, a plumber can assess for deeper issues, such as biofilm in the pipes.
Prevention Tips: Dispose of food scraps properly, use a sink strainer, and clean the P-trap periodically.
3. Leaking Sink Drain
Symptoms: Water drips or pools under the sink cabinet, indicating a leak.
Likely Causes: Loose fittings or corroded pipes can lead to leaks.
Step-by-Step Fixes:
- Tighten Connections: Use a wrench to tighten any loose pipe connections and joints.
- Replace Washer or Gasket: A worn-out washer in the P-trap should be replaced. Make sure the new one fits securely.
- Seal with Plumbing Tape: Wrap plumbing tape around threaded joints to ensure a tight seal.
When to Call a Professional: Persistent leaks or significant water damage are signs to get a plumber involved.
Prevention Tips: Regularly inspect under-sink plumbing for moisture or signs of corrosion, and tighten fittings as needed.
4. Clogged Garbage Disposal
Symptoms: Water doesn’t drain even when the garbage disposal is off. There’s a humming noise, but no grinding.
Likely Causes: Overloading the garbage disposal or disposing of fibrous food items like celery and potato peels can jam the blades.
Step-by-Step Fixes:
- Reset Button: Turn off the disposal and press the reset button on the bottom.
- Use a Wrench: Insert an Allen wrench into the bottom of the unit and manually turn it to dislodge the jam.
- Remove Debris: Use tongs to remove any visible blockages (never use your hand).
When to Call a Professional: If the disposal is still unresponsive after these steps, professional repair might be necessary.
Prevention Tips: Always run water while using the disposal, avoid tough scraps, and regularly clean the garbage disposal.
5. Water Backing Up in Sink
Symptoms: Water from the dishwasher or another drain backs up into the sink.
Likely Causes: A blocked drain line or vent pipe could be causing water to return rather than exit.
Step-by-Step Fixes:
- Check Air Gap: Ensure that the air gap (if you have one) is not blocked.
- Clean the Sink Vent: Use a plumber’s snake to clear any blockage in the vent pipe.
- Flush with Baking Soda and Vinegar: This can also help clear minor clogs.
When to Call a Professional: If unfamiliar with plumbing vent systems, you should let a professional diagnose and resolve the issue.
Prevention Tips: Regular cleaning and maintenance of kitchen plumbing prevent clogs. Install a mesh strainer to keep debris out of the pipes.
6. Rusted or Corroded Pipes
Symptoms: Discolored water, rust flakes in the sink, or visible rust on pipes.
Likely Causes: Corrosion due to old iron pipes or exposure to certain cleaning chemicals.
Step-by-Step Fixes: When to Call a Professional: If entire pipes need replacement, professional plumbing work is advisable.
Common Mistakes to Avoid
1. Using the Wrong Type of Drain Pipe
Why it happens: It’s easy to grab the first available pipe at your local hardware store, especially when you’re in a rush or new to plumbing.
How to avoid it: Make sure you check the material and the diameter of the pipe. Typically, kitchen sinks require either PVC or ABS pipes that match the standard 1 1/2-inch diameter.
What to do if you’ve already made this mistake: If you’ve already installed an unsuitable pipe, it’s time to replace it with the right material and size. Consult with a professional plumber if you’re unsure, as they can recommend the best option for your specific set-up.
Expert recommendations: Always double-check your sink and disposal’s requirements before purchasing any plumbing materials to ensure compatibility.
2. Forgetting the Plumber’s Putty or Teflon Tape
Why it happens: In the excitement of setting up or fixing your sink, it’s common to overlook these small, but crucial, materials.
How to avoid it: Keep a checklist of necessary tools and materials handy before starting the project. A quick glance can save you from a leaky sink later.
What to do if you’ve already made this mistake: If you skipped the plumber’s putty or Teflon tape, disassemble your work, apply the necessary seals, and reassemble. It’s better to endure a bit of extra work now than to face water damage later.
Expert recommendations: Invest in a high-quality Teflon tape and ensure you always have some plumber’s putty available in your toolkit.
3. Over-Tightening Pipe Connections
Why it happens: People often think tighter seals will guarantee no leaks, but excessive tightening can actually crack fittings or crush seals.
How to avoid it: Use a wrench to tighten until snug, then give it a quarter turn more. This ensures a proper seal without the risk of overtightening.
What to do if you’ve already made this mistake: If you’ve cracked a fitting, you will need to replace it. If it’s just a washer that got compressed, replace the washer and retighten correctly.
Expert recommendations: Practice finding that “sweet spot” in tightening through hands-on experience or ask a professional to guide you through the process.
4. Misaligning the Trap
Why it happens: In a rush, it’s easy to misalign the P-trap, leading to leaks and improper drainage.
How to avoid it: Carefully measure and adjust the P-trap so it aligns perfectly with both the sink output and wall inlet. Check your angles twice before tightening.
What to do if you’ve already made this mistake: Loosen the fittings around the trap, align correctly, and re-tighten.
Expert recommendations: Consider flexible trap assemblies as they accommodate alignment issues more easily than rigid connections.
5. Ignoring Venting Issues
Why it happens: Venting issues aren’t visible and are often overlooked, especially by beginners.
How to avoid it: Ensure your drain system is adequately vented. This allows air into the system and prevents drainage issues and foul smells.
What to do if you’ve already made this mistake: If your sink drains slowly or emits odors, investigate your venting system. You might need to add an air admittance valve or reroute vent pipes.
Expert recommendations: Research or consult an expert about local plumbing codes regarding venting. Proper venting is essential for efficient drainage and avoiding back-ups.
6. Not Testing for Leaks Properly
Why it happens: After a tiring job, it’s tempting to assume everything is perfect without a thorough check.
How to avoid it: Run water at different pressures and check every joint, especially in hidden areas, for signs of moisture or drips.
What to do if you’ve already made this mistake: If you notice a leak later, isolate the issue by working backward, joint by joint, until you identify the source.
Expert recommendations: Always finish a plumbing job with a detailed inspection and consider using a paper towel around joints to quickly reveal any leaks.
Final Thoughts
Understanding the ins and outs of kitchen sink drain plumbing can save you from unexpected hassles and costly repairs down the line. Regular maintenance and being mindful of what you put down your sink can help keep your plumbing in great shape. In Lexington, KY, where our homes are often the heart of family gatherings, ensuring your kitchen sink is running smoothly is essential for daily life.
If you find yourself facing plumbing issues or just want to ensure everything is in top condition, don’t hesitate to reach out to us at KYPD Plumbing. We’re here to help you with expert advice and reliable service tailored to your needs. Whether you need a quick check-up or a complete overhaul, we’d love to assist you in keeping your kitchen functioning perfectly.