


Plumbing fixture installation is an essential skill for homeowners looking to maintain or upgrade their living spaces. Whether you’re updating your kitchen or modernizing a bathroom, knowing how to install your plumbing fixtures can save time and money. This comprehensive guide will walk you through everything you need to know about plumbing fixture installation, from selecting the right fixtures to the step-by-step installation process.
Understanding Plumbing Fixtures
Before diving into the installation process, it’s crucial to understand what plumbing fixtures are. Plumbing fixtures include components like sinks, faucets, showers, and toilets that are crucial for making your plumbing functional. These fixtures connect to your home’s water supply and sewer system, allowing you to access and dispose of water efficiently.
Why Choose New Plumbing Fixtures?
Upgrading plumbing fixtures can significantly impact your home’s functionality and aesthetic appeal. Here are some reasons why you might consider new fixtures:
- Energy Efficiency: Modern fixtures often come with water-saving features that reduce your utility bills and environmental footprint.
- Aesthetic Appeal: Newer designs can enhance the look of your kitchen or bathroom.
- Improved Functionality: Newer models might offer better water pressure or additional features, making them more efficient and convenient.
Selecting the Right Fixtures
Choosing the right plumbing fixtures is the first and one of the most crucial steps in the installation process. Here are some tips to help you select the ideal fixtures:
Consider Your Needs
Think about the specific needs of your household. Do you need a high-flow showerhead? Is a deep kitchen sink a necessity for you? List your priorities before shopping.
Match Your Home’s Style
Ensure that the fixture design complements the overall style of your home. Whether you have a modern or vintage theme, pick fixtures that enhance your home’s aesthetic.
Material Matters
The durability of your fixtures will largely depend on the material. Opt for high-quality materials like stainless steel or brass, especially for kitchen fixtures.
Tools You’ll Need
Before getting started, ensure you have the following tools on hand:
- Adjustable Wrench
- Screwdriver
- Plumber’s Tape
- Pipe Wrench
- Bucket
- Plumber’s Putty
- Tube Cutter
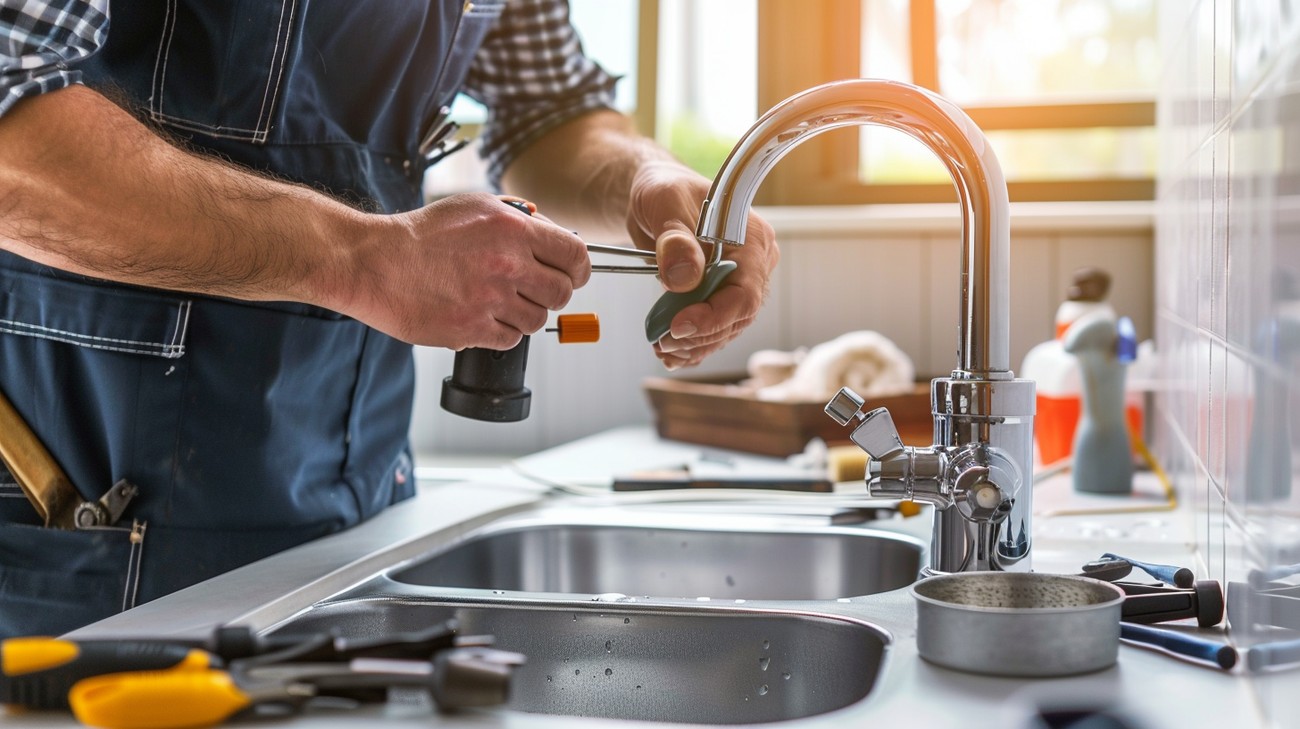
Installing a Faucet
Let’s start with a step-by-step guide to installing a new faucet, which is a common DIY project for many homeowners.
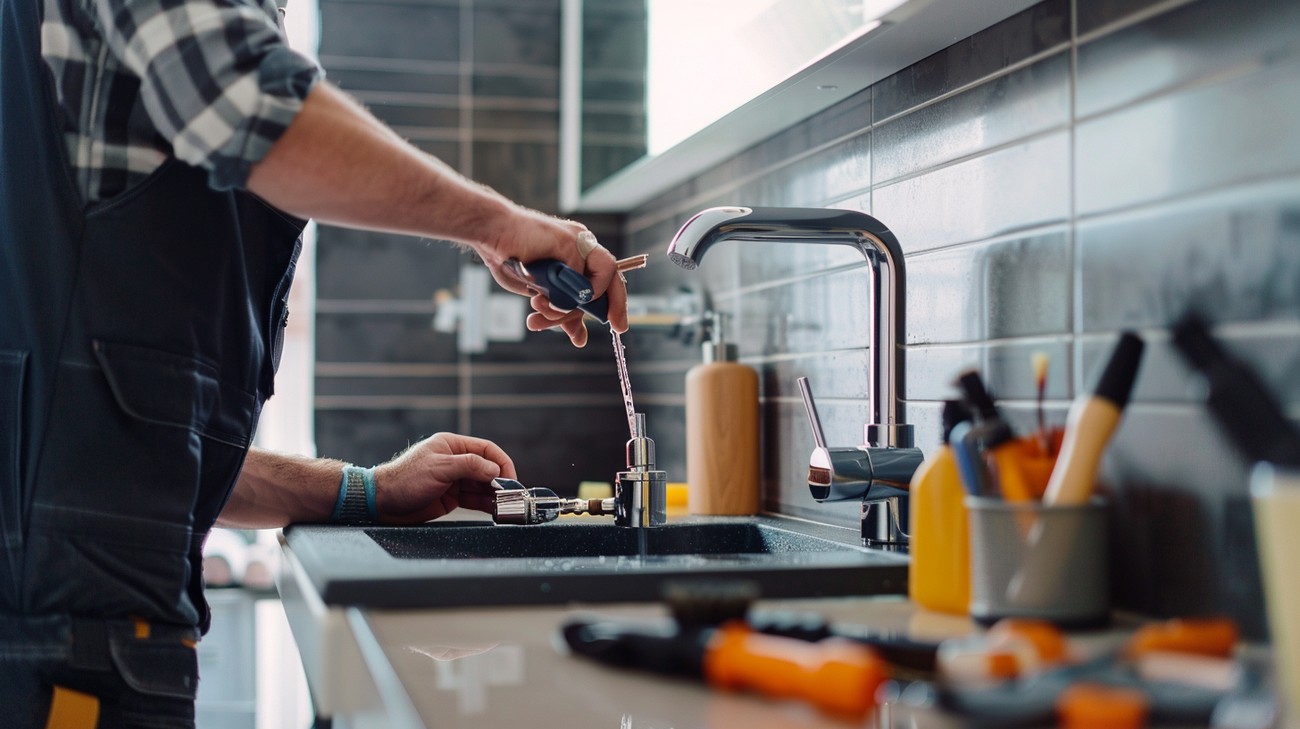
Step 1: Turn Off the Water
Start by turning off the water supply. Look for valves under your sink and turn them clockwise until they’re fully closed.
Step 2: Remove the Old Faucet
With your adjustable wrench, loosen and remove the nuts that secure the faucet to the sink. Disconnect the water supply hoses. Have a bucket handy to catch any residual water.
Step 3: Prepare the Sink
Clean the area where the old faucet was. Remove any old plumber’s putty or debris to ensure a clean surface for your new installation.
Step 4: Install the New Faucet
- Assemble the new faucet parts according to the manufacturer’s instructions.
- Apply plumber’s tape to the threads of the faucet tailpieces for a tight seal.
- Place the gasket and/or putty on the sink deck where the faucet will sit.
- Insert the faucet tailpieces through the sink’s holes.
Step 5: Secure the Faucet
From beneath, attach washers and nuts to the tailpieces. Tighten them with the adjustable wrench, ensuring the faucet is snug and aligned on the sink.
Step 6: Connect Water Supply
Reattach the water supply hoses to the corresponding hot and cold water lines. Ensure all connections are tight to prevent leaks.
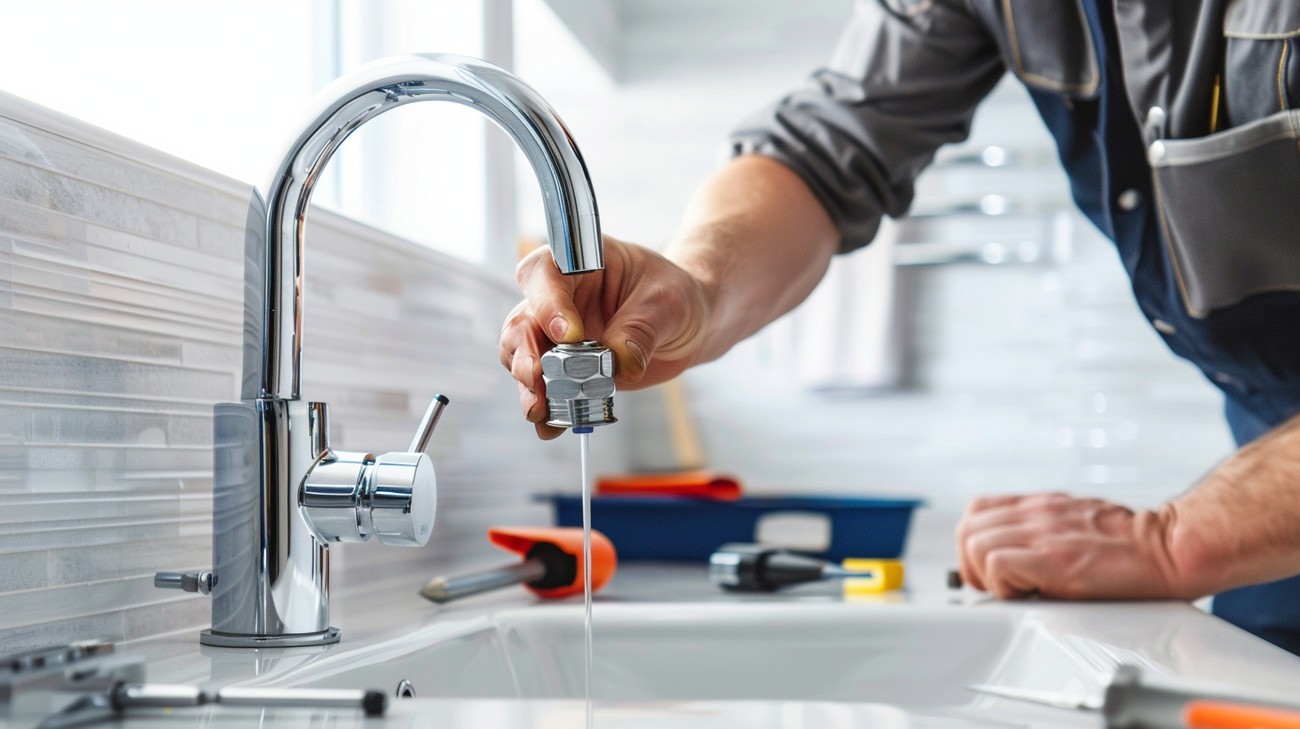
Step 7: Test for Leaks
Turn the water supply back on, open the faucet, and check for leaks around connections. Tighten or adjust as necessary.
Installing a Toilet
Another common fixture installation project is replacing or installing a toilet. Here’s how it’s done:
Step 1: Turn Off the Water and Empty the Tank
Shut off the water using the valve behind the toilet. Flush the toilet to empty the tank and bowl completely.
Step 2: Disconnect Water Supply
Unscrew the water supply line from the base of the toilet tank. Have a towel or a small bucket available to catch remaining water in the hose.
Step 3: Remove the Old Toilet
Loosen and remove the caps and nuts securing the toilet to the floor. Wiggle the toilet gently to break the wax seal and lift it away. Scrape away the old wax ring from the flange on the floor.
Step 4: Install New Wax Ring
Place a new wax ring on the toilet’s outlet or on the flange. Ensure it is aligned correctly for a good seal.
Step 5: Set the Toilet
Carefully lower the toilet onto the flange, ensuring it’s centered over the bolts. Press down firmly to seat the wax ring and secure the toilet to the floor.
Step 6: Secure the Toilet
Once the toilet is in place, tighten the nuts onto the bolts to secure it to the floor. Be careful not to overtighten as this can crack the porcelain. Replace the bolt caps.
Step 7: Reconnect the Water Supply
Reattach the water supply line to the toilet tank. Turn the water on slowly and check for leaks as the tank fills.
Step 8: Test the Installation
Flush the toilet several times to ensure it is functioning correctly and there are no leaks at the base.
Common Mistakes to Avoid
- Over-Tightening: This can lead to damaged parts or cracked fixtures.
- Ignoring Leaks: Always check for leaks after installation to make immediate corrections.
- Skipping Instructions: Manufacturer’s guides provide specific steps and recommendations for their products.
Benefits of Professional Installation
While DIY installation can be rewarding and cost-effective, some situations require professional expertise:
- Major overhauls or installations.
- Plumbing situations involving complicated pipe work.
- Ensuring warranty protection by having certified professionals do the installation.
FAQ: Plumbing Fixture Installation
How do I know when it’s time to replace a plumbing fixture?
Over time, plumbing fixtures can experience wear and tear or become outdated. It’s time to consider replacing a fixture when you notice persistent leaks, corrosion, or mineral deposits that can’t be cleaned. If your water bill has unexpectedly increased, it could be due to an inefficient fixture that needs replacing. Additionally, if your fixtures are old, upgrading can improve efficiency and enhance the aesthetic appeal of your space.
What should I consider before installing a new plumbing fixture?
Before installing a plumbing fixture, take stock of your current plumbing system’s compatibility. Consider the fixture’s size and style to ensure it fits in your space and aligns with your functional needs. Assess your water pressure and check if it’s adequate for the new fixture. It’s also essential to determine the fixture’s material quality for durability. Consult the manufacturer’s instructions or a professional to understand special installation requirements.
Can I install a plumbing fixture on my own, or should I hire a professional?
While some plumbing fixture installations can be DIY projects, it’s crucial to assess your skill level. Simple installations like replacing faucets or showerheads can often be handled independently with the right tools. However, more complex installations like toilets or sinks involving plumbing modifications might require a professional to avoid costly mistakes. Professional installation ensures adherence to local building codes and optimal performance.
What tools are required for installing plumbing fixtures?
Installing plumbing fixtures typically requires common tools such as wrenches (adjustable, basin, pipe), pliers, a screwdriver, and pipe sealant. A plumber’s tape (Teflon tape) is essential for sealing pipe threads to prevent leaks. When installing sinks, faucets might need a basin wrench for tight spots. Make sure to read the specific installation guide for additional tools required for your particular fixture.
How can I ensure a plumbing fixture installation is leak-free?
To ensure a leak-free plumbing fixture installation, start by turning off the water supply to avoid unnecessary spills. Use thread sealant tape on all threaded connections to prevent leaks. Ensure that all connections are snug but not overly tight to avoid damaging threads. After installation, slowly turn the water supply back on and check all connections for leaks. Tighten as needed, and if leaks persist, re-evaluate the connections and seals.
Are there specific maintenance tips for newly installed plumbing fixtures?
For newly installed plumbing fixtures, regular maintenance involves routine cleaning to prevent build-up of mineral deposits and grime, which can damage finishes. Check for leaks periodically around the fixture to catch them early. It’s also wise to inspect valves and seals regularly to ensure they are functioning properly. Following the manufacturer’s care instructions will prolong the life and efficiency of your fixtures.
What are common mistakes to avoid during plumbing fixture installation?
Common mistakes during plumbing fixture installation include not shutting off the water supply, which can lead to flooding. Using incorrect tools or improper sealing materials often results in leaks. Over-tightening connections can damage the fixture or pipes, leading to cracks or breaks. Not aligning fixtures properly before securing them can cause functional and aesthetic issues. Always follow detailed instructions and consider consulting a professional for unfamiliar tasks.
Should I replace all my plumbing fixtures at once or individually?
Deciding whether to replace all plumbing fixtures at once or individually depends on your budget and the condition of each fixture. Replacing fixtures simultaneously can be cost-effective and ensure a uniform style throughout your space. However, replacing them individually as needed may be more manageable financially. Prioritize fixtures that are malfunctioning or outdated, and plan a phased replacement if your budget is a constraint.
How do I choose the right plumbing fixtures for my home?
Choosing the right plumbing fixtures involves aligning them with your home’s style and functional needs. Consider fixture materials for durability and ease of cleaning. Opt for water-efficient models to save on utility bills and reduce environmental impact. It’s also wise to review customer feedback and professional reviews for performance insights. Select a fixture type that complements your existing plumbing layout to avoid complicated installations.
What permits or regulations should I be aware of when installing plumbing fixtures?
When installing plumbing fixtures, be aware of local building codes and permit requirements, which vary by location. Some regions mandate permits for major plumbing changes, such as new fixture installations or modifications to existing plumbing systems. Consulting a professional or your local building department ensures compliance with regulations, helping avoid potential fines and ensuring the safety and functionality of your plumbing fixtures.
Cost Breakdown
Typical Price Ranges
When diving into the cost of plumbing fixture installation, you’ll find that prices can vary significantly depending on the type of fixture. For instance, installing a basic faucet could run you anywhere from $150 to $350. On the other hand, if you’re thinking about adding a new toilet, you might budget $200 to $500. If a shower or bathtub installation is on your agenda, you can expect a heftier bill, typically between $1,000 and $5,000, depending on the complexity and materials used.
Factors That Affect Cost
A multitude of factors can influence the price tag of your plumbing fixture project. One of the most significant factors is the type and quality of the fixture itself. For example, a luxury, high-end faucet will naturally cost more than a standard model. Labor costs also play a crucial role; installing complex fixtures or those in hard-to-reach areas can require more skilled labor, increasing the price. Geographic location matters too; areas with a higher cost of living will often see higher labor costs. Finally, any necessary modifications, such as adjusting existing plumbing or adding new pipes, can add to the total cost.
Cost Comparison
Picture this: you’re choosing between budget and premium options for your fixtures. Low-end options might include a basic faucet with a chrome finish priced at around $50, a simple toilet unit at $100, or a basic acrylic bathtubs starting at $300. Conversely, if you decide to splurge, premium options like a designer faucet crafted from brushed nickel can reach prices upwards of $500, while a high-tech toilet with built-in bidet functions may exceed $1,200. Similarly, a freestanding, cast-iron tub could easily set you back $3,000 or more. Essentially, you could be looking at a five-fold increase in price when opting for premium over budget options.
Hidden Costs to Consider
When planning for plumbing fixture installation, it’s crucial to account for those sneaky hidden costs that can catch you by surprise. Permitting and inspection fees may be required, potentially adding an extra $50 to $200 to your expenses. If you are upgrading from older systems, you might face additional water line replacement costs, which can vary widely depending on the necessary updates. Also, disposing of old fixtures isn’t always free; removal charges can range from $50 to $150 per fixture. Don’t forget about potential delays in the project, which can raise labor costs if contracted on an hourly basis.
Ways to Save Money
Looking to keep your project under budget without compromising quality? Start by shopping around for fixtures and getting competitive quotes from multiple installers. Sometimes local hardware stores offer sales or discounts, so keeping an eye out for these deals can help. You could also consider purchasing your fixtures independently and hiring professionals for the installation, since many contractors apply a markup to material costs. Planning your installation during the off-season, typically in late fall or early winter, might lead to discounts from contractors eager for work. Lastly, if you’re handy, consider doing minor installation tasks yourself, such as connecting a faucet or replacing a showerhead, to save on labor. However, do this only if you’re confident in your skills to avoid costly mistakes.
Timeline & Process
Planning and Preparation (1 week)
- What Happens: Before any actual installation takes place, there’s some crucial groundwork. This phase involves selecting fixtures, budgeting, obtaining necessary permits, and hiring a plumber if you’re not doing it yourself.
- Dependencies: The main dependencies here are the availability of the selected fixtures and securing necessary permits from your local authorities.
- Preparation: Draft a clear plan with diagrams of where each fixture will go. Choose fixtures that fit your space and aesthetic. Make a checklist to ensure you’ve got all the essentials ready, from fixtures themselves to installation tools.
Demolition and Removal (1-2 days)
- What Happens: If you’re replacing old fixtures, they need to come out first. This means shutting off the water supply, disassembling connections, and carefully removing the old fixtures.
- Dependencies: Ensure you’ve turned off the water supply and have all necessary tools, such as adjustable wrenches and safety goggles.
- Preparation: Clear the room of any obstacles or personal items. Lay down protective coverings on floors and surrounding areas to prevent damage.
Rough-In Plumbing (2-3 days)
- What Happens: This phase involves laying down or modifying existing plumbing lines to accommodate your new fixtures. It’s the foundational stage where pipes, drains, and vents are installed.
- Dependencies: The completion of demolition and any previous structural changes. Also, any necessary inspections by a plumber to avoid future mishaps.
- Preparation: Double-check your plans with a professional to ensure compliance with local plumbing codes. Gather and organize all the necessary tools and plumbing materials in advance.
Fixture Installation (1-2 days)
- What Happens: Now comes the exciting part – installing your new fixtures. Each piece, be it a faucet, toilet, or showerhead, is carefully placed and connected to the water supply lines and drainage.
- Dependencies: Completion and approval of rough-in plumbing work. Ensure that the fixtures have arrived and are inspected for damages before beginning.
- Preparation: Read the manufacturer’s installation instructions for each fixture to avoid mistakes. Have a helper on hand for larger installations like bathtubs.
Testing and Adjustments (1 day)
- What Happens: This is the phase where you test each fixture for leaks, water pressure, and correct operation. It might involve some minor adjustments to ensure everything works perfectly.
- Dependencies: All installations should be completed before testing. Immediately rectify any issue that arises during this phase to prevent future problems.
- Preparation: Keep additional tools handy for any adjustments. Prepare a checklist to ensure all installation points, such as sealants and connections, are secure.
Final Inspections and Touch-Ups (1 day)
- What Happens: Depending on local regulations, a final inspection by a plumbing official might be necessary. Conduct any last-minute touch-ups and clean installations.
- Dependencies: Successful completion of the testing phase and acquiring an inspection schedule.
- Preparation: Clean the entire area for the best impression during inspection. Be ready to make immediate changes if required by the inspector. Gather documentation like permits and manuals to show if needed.
Final Thoughts
When it comes to plumbing fixture installation, choosing the right fixtures and ensuring proper installation is crucial for both functionality and aesthetics. We understand that a well-installed fixture can enhance your space while also preventing future plumbing issues. Whether you’re updating your kitchen or bathroom, taking the time to select quality fixtures and to follow proper installation procedures makes all the difference.
If you’re in Lexington, KY, and considering an upgrade or need assistance with plumbing fixture installation, we’re here to help. Contact us at KYPD Plumbing to discuss your project, schedule a consultation, or request a free estimate. Our experienced team is dedicated to making your plumbing dreams a reality, ensuring your satisfaction every step of the way.